VIT 318 - SPI Flammability Tester (Vinyl Material)

Application
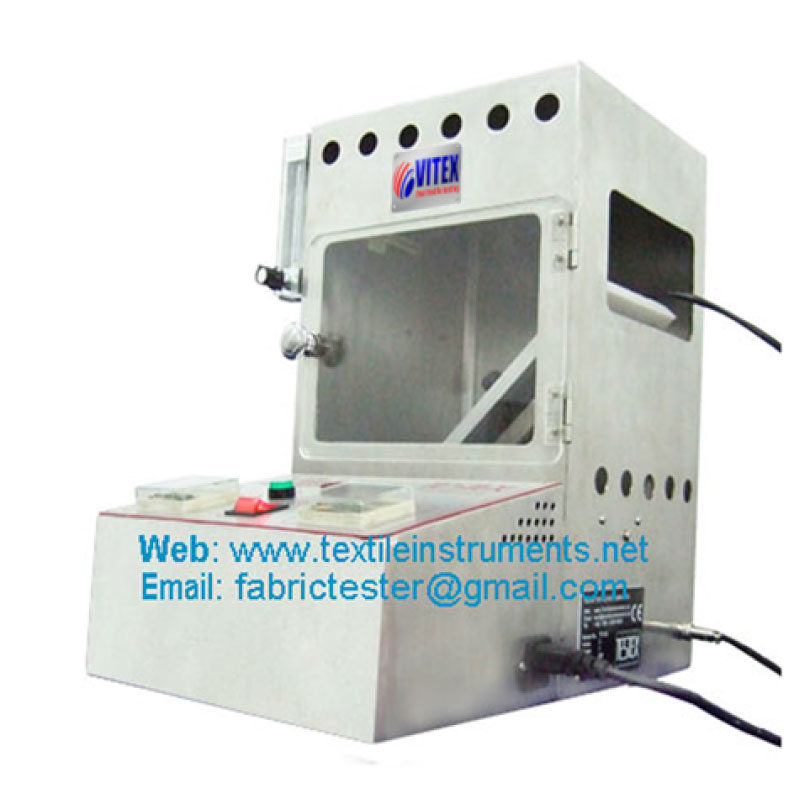
SPI Flammability Tester (Vinyl Material), to determine the ignition properties of vinyl plastic film material according to CFR 16 Part 1611 U.S.A. Flammable Fabrics Act for flammability of apparel vinyl plastic film.
The rate of burning shall not exceed 1.2 in./s as judged by the average of five determinations lengthwise and five determinations transverse to the direction of processing, when specimen is placed at an angle of 45 degree and exposed to the standardized flame (22# fire nozzle, 1/2 inch. In length).

Standards
CFR 16 Part 1611

Power
220 /110 V 50/60 Hz

Weight
45 Kg

Dimensions
500 x 450 x 65 mm (L x W x H)

Applicable Range of Vinyl Plastic Film Combustion

The United States Flammable Fabrics Act (FFA) requires that all relevant textiles for sale in the United States be tested and meet its specified requirements for flame retardancy. The flammability standard for vinyl plastic films (16 CFR 1611) is used to detect non-rigid polyethylene plastic films (including transparent, translucent and opaque, flat and uneven surfaces, molded or surface treated) and the thickness of polyethylene film less than or equal to 0.33mm.

Requirements for Flammability of Vinyl Plastic Film

The average burning rate for each of the five longitudinal samples and five transverse samples is required not to exceed 3 cm/s, use the SPI flammability tester and test according to the test program specified in the standard (45-degree flammability test method).

Test Procedure

1 Cut the sample according to the rules, then wrap the clip with cotton thread to press the switch trigger at least 0.25 inch from the edge of the clip. The wire passes through the hole under the upper clip, so that the line clings to the sample when the sample clip is closed.

2 The sample is inserted into the sample clip. When the clip is closed, the sample cannot be wrinkled or deformed. The sample must not exceed the outer edge of the lower clip, otherwise, the clip cannot glide smoothly on the track when placed in the box.

3 Both electronic switches are ready for automatic timing before the sample and the sample clips are placed in the box. Adjust the knob to adjust the flame to 0.5 inches.

4 Turn off ventilator fan, timer zero, adjust the flame to above requirements and close the door, sample clip inserts to box to reach the burning position.

5 The first timer will start timing automatically once the sample holder contacts the sensor. The second timer will start timing automatically once the first marking line is burned. Both the two timers will stop automatically once the second marking line is burned. Press the ON/OFF button to close the valve of the gas supply and record the time and calculate the burning rate.

  • The most advanced thread locking device and sample holder save 80% of operation time that faster than other suppliers’ design
  • Equipped with photoelectricity sensor accurately and automatically record burning time with no damage ensures 5 years life or longer
  • Timer accuracy up to 0.01 second;
  • 22# needle flame, 9/16inch from the specimen, flame length adjusted by flow-valve;
  • Timing distance of burning 6 inch